Combat in Towers of Fortune is primarily a platform-control fight, not a race to reduce a health bar. You spawn on your own pillar, receive random items and blocks during the round, and try to bridge toward other pillars or the valuable Middle. The decisive finish is usually a knockback that sends an opponent into the void, so every attack should be judged by the space it creates, the escape route it removes, or the edge it threatens.
The safest default is to build before you commit. Keep enough Blocks to widen your landing area or repair a bridge, approach contested ground from an angle that leaves a retreat, and do not chase a damaged player onto a one-block route if the chase removes your own recovery options. Kills can provide bonus blocks and coins, but the match objective remains survival: the last player alive wins.
How Towers of Fortune combat works
The items guide covers the roles and uses of equipment that can change the opening, while the maps guide helps plan routes around generators and platforms.
Every player begins separated on a pillar or floating platform. The round then supplies random equipment at intervals, which means your opening plan must adapt to what actually appears rather than assume a fixed loadout. Some Classes also change the first decision by providing a starting item or resource: Builder is associated with an extra block, a fireball-focused class can start with one fireball, and Chicken is described as starting with four eggs. Treat those as opening advantages, not guarantees that the entire round will follow one strategy.
Your first useful question is not “Can I reach that player?” It is “If the exchange goes badly, where can I stand?” A short bridge to Middle may be worth the risk when you have spare Blocks and a clear line. If your platform is narrow, the opponent has a ranged item, or a second player can attack from the side, expanding your own space can be more valuable than rushing. Blocks are simultaneously movement, cover, emergency footing, and a way to force an opponent into a predictable lane.
The combat loop can be summarized as follows:
- Check your starting Class, Blocks, and immediately available item.
- Extend or reinforce a safe route before crossing an exposed gap.
- Contest Middle or an Item Generator only when you have a retreat and a way to stand after the exchange.
- Use ranged or disruption items to make the opponent move, then use the edge, bridge, or height difference to finish the fight.
- After a kill, rebuild the route and refill your options instead of automatically taking the next chase.
This approach fits the game’s confirmed structure: bridge, fight, knock players into the void, collect additional resources, and remain alive longer than everyone else.
Combat items and what they change
The table is a practical role guide. It describes the supported use of each item without assigning unverified damage, cooldown, range, drop chance, or knockback values.
| Item or resource | Combat role | Best opportunity | Main risk |
|---|---|---|---|
| Blocks | Movement, defense, and platform control | Bridge, widen a landing, repair a route, or create a retreat | Spending the last blocks can leave you with no safe footing |
| Knockback Stick | Close-range displacement | Strike near an edge, on a narrow bridge, or after the opponent commits forward | A miss can put you within the opponent's own edge-control range |
| Fishing Rod | Movement interference | Disrupt an approach or make an exposed player change direction | Its value depends on distance, line, and surrounding platform space |
| Bow | Ranged pressure | Punish an exposed bridge or stop a player crossing between platforms | A shot does not replace a safe position or guarantee a fall |
| Spear | Long-reach combat option | Control space when a target is just outside comfortable melee range | Crafting costs materials and requires access to a Crafting Table |
| Egg | Thrown disruption and edge pressure | Force movement or interrupt a player close to a drop | One throw may not send a target over the edge |
| TNT | Explosion and route disruption | Break a bridge or make an opponent abandon a predictable path | Poor placement can damage your own route or remove your escape |
| Fireball | Ranged attack and route pressure | Pressure a player from a distance or make a crossing unsafe | The confirmed starting supply is limited, so wasting it reduces later options |
| Totem | Defeat prevention or revival | Survive a lethal moment and turn an apparent elimination into a reset | It does not make a dangerous platform safe after the trigger |
| Item Generator | Contested equipment source | Replenish tools or find a high-value survival item | Standing at the generator creates a predictable combat target |
Use the rows as decision rules rather than as a power ranking. A Knockback Stick is threatening when the opponent is near an edge, but much less decisive in the middle of a broad platform. A Bow or Fireball can stop a bridge push, while Blocks can do something a weapon cannot: give you somewhere to stand after the exchange. A Totem is strongest as insurance for a committed play, not as permission to ignore the void.
Reaching and contesting Middle
Middle is the round’s clearest high-value objective. It contains valuable resources and naturally attracts several players, so reaching it early can improve your equipment position while also exposing you to multiple angles of attack. The right route is therefore a risk decision, not an automatic opening instruction.
Contest Middle for valuable combat resources
This moment supports the section’s advice that Middle offers valuable resources and becomes a contested combat hotspot.
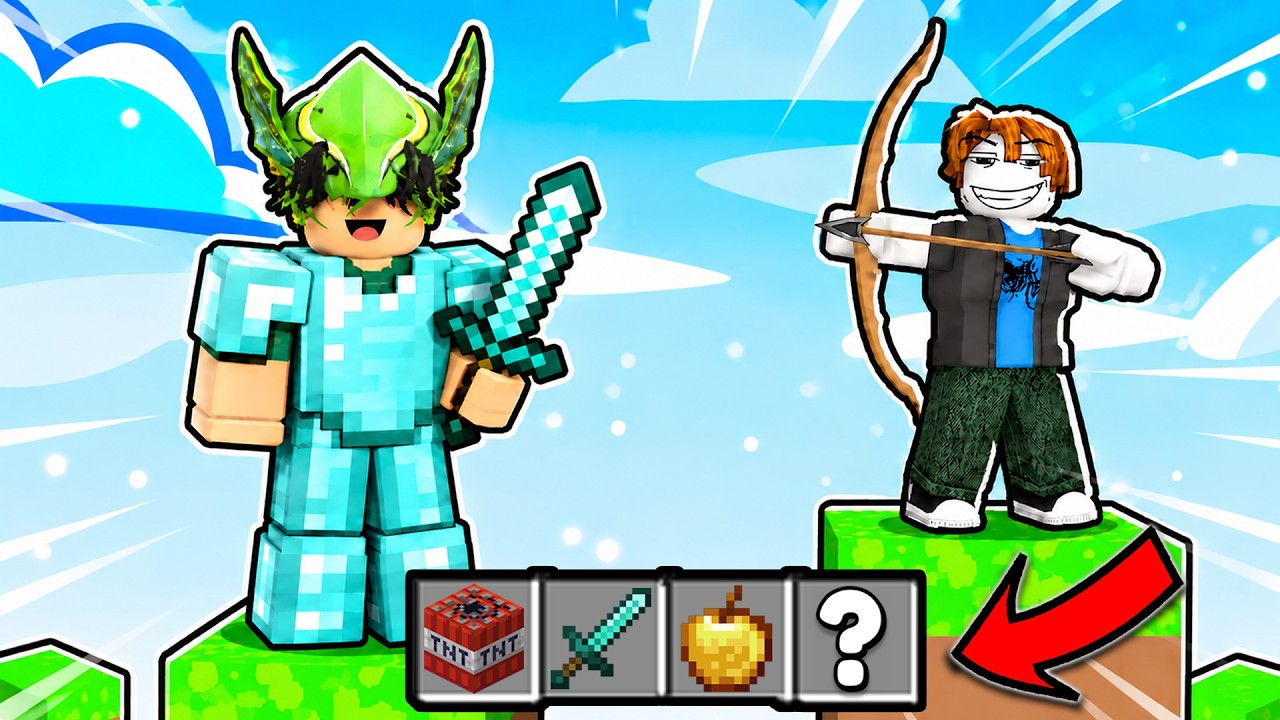
Rush Middle when you have enough Blocks to complete the crossing and still leave a usable landing or retreat. Builder’s extra block is particularly suited to this kind of opening because it can shorten a bridge or give you an additional piece of footing. A Fireball or other ranged start can instead justify a slower approach if an opponent is already building toward the same area; pressure them while they are committed rather than stepping onto the same narrow route without a plan.
Once you arrive, do not stand still on the obvious approach tile. Expand the platform where possible, identify the nearest exit, and watch for opponents entering from opposite sides. A player who crosses Middle safely but remains on a narrow bridge is still vulnerable to an Egg, Bow, Fishing Rod, TNT, or Knockback Stick. If the center becomes a three-way fight, preserving a retreat is often better than taking the first available swing.
Item Generators create a similar trade-off. They can produce useful equipment, including Totems, but they also advertise where players are likely to gather. Approach the generator with Blocks ready, collect what you can, and leave before your position becomes predictable. If another player reaches it first, attack their route or force them away from the edge instead of walking directly into the item pile.
Turning space into a knockback win
The strongest combat position is usually the one that limits the opponent’s next step. Narrow bridges, platform lips, unfinished crossings, and isolated blocks all reduce the room available to recover. Use items in sequence: a Bow, Egg, Fishing Rod, Fireball, or TNT can make the target move, and the movement can create the opening for a Knockback Stick or a follow-up attack.
Use the Knockback Stick near dangerous edges
This moment supports the section’s explanation of using a Knockback Stick to turn limited platform space into a knockback opening.

Do not assume that a single hit is enough. The evidence supports knockback as the central danger, but not a fixed force or a guaranteed fall for any item. First check whether the target has a block behind them, a side platform, or enough space to turn. If they do, keep your own footing protected and prepare for the second movement rather than overcommitting to the first impact.
Your own edge discipline matters just as much. Stand one step back from a drop when you can, avoid swinging while your camera or movement is carrying you forward, and keep Blocks selected or readily available after a risky exchange. TNT is especially positional: destroying a route can trap the opponent, but it can also cut off your return path. If the blast changes the map, reassess the new safe ground before you pursue.
Crafting and resource recovery
Random drops are not your only way to improve a fight. Crafting converts materials into equipment at a Crafting Table, and the available gameplay evidence specifically describes making sticks and then a Spear. The Spear is useful when extra reach would make a bridge or platform exchange safer, but crafting is not automatically correct: searching for the table or gathering materials can expose you while an opponent is already equipped.
Craft when the result solves a clear problem. If a target is holding the edge just beyond your melee reach, a Spear can change the distance at which you can contest them. If you have no safe bridge, crafting should wait until Blocks or a route problem is solved. Likewise, do not leave a defensible platform solely to chase a better item when another player can reach Middle or your pillar first.
After a kill, use the short window of safety to count resources. Kills may grant bonus Blocks and Coins, but the supplied evidence does not establish every reward amount or the full use of Coins. Treat the confirmed benefit as additional options, then verify any current reward display in-game rather than planning around an unconfirmed number.
Classes, Totems, and the last survivor
Classes shape the first exchange, while later items and positioning decide whether that advantage matters. Builder supports a construction-first route; a fireball class supports immediate ranged pressure; and Chicken’s four eggs support repeated disruption attempts. Other class names or labels should be checked in the current Classes panel before you infer an effect from the name alone.
Totems change the meaning of a successful hit. Gameplay evidence shows a player being defeated and appearing again after using a Totem, so do not stop defending immediately when an opponent seems to have been eliminated. Recheck the platform, keep your distance from the edge, and expect the revived player to still contest the area. The available evidence does not establish the exact trigger rules, stock limit, or probability of finding one, so treat a Totem as a valuable extra chance rather than a predictable number of lives.
In the endgame, safety becomes more important than speed. Keep a wide platform, preserve Blocks, and avoid a chase with no retreat. If the opponent is forced onto a narrow route, let the route create the pressure: a Bow, Egg, Fishing Rod, Fireball, TNT, or Knockback Stick can make them choose between stopping and falling. When only a few players remain, the winning combat action is often the one that protects your own platform until the opponent makes the irreversible move.
Combat limits to keep in mind
Towers of Fortune’s live values can change, and the available evidence does not establish exact item refresh intervals, damage values, knockback strength, item odds, Totem limits, or complete mode-specific rules. Use the current in-game item, Class, and reward panels for those mutable details. The durable principles are more reliable: maintain footing, keep a route home, use the edge as the win condition, and treat Middle and generators as contested resources rather than safe storage.
First-time Towers of Fortune combat questions
Should I rush Middle at the start of every round?
No. Rush Middle when you have enough Blocks for the crossing and a way to retreat or widen your landing. Middle has valuable resources, but it also concentrates opponents and exposes you to ranged and knockback attacks.
What should I do if an opponent reaches an Item Generator first?
Do not walk directly into the item pile without an exit. Pressure the opponent’s route from a safe platform, wait for an opening, or leave with your own Blocks intact; generators are useful but make predictable contested positions.
Is one hit enough to knock a player into the void?
Not necessarily. The result depends on the target’s position, the available platform space, and whether they have a recovery route. Use the first hit or thrown item to force movement, then protect your own footing before committing to a follow-up.
What should I do after a Totem saves an opponent?
Keep defending and reassess the platform instead of assuming the fight is over. The revived player can still contest the area, so maintain distance from the edge and keep Blocks available for your own recovery.