Towers of Fortune items are a mixed pool of building resources, weapons, defensive gear, recovery items, generators, and crafting objects. Most items arrive randomly during a round, so the practical question is not “which item is strongest?” but “what does this item let me do safely on a floating platform?” Use Blocks to preserve routes and space, use damage or knockback items when an opponent is exposed, and treat Totems and healing gear as limited chances to survive rather than guarantees.
The catalog below separates confirmed roles from details that are still mutable or unverified. It is useful for deciding what to hold, what to spend immediately, and which resource point is worth contesting.
Towers of Fortune item catalog
The records use the item’s current evidence-supported role. A dash means that a precise value, such as damage, armor, ammunition, cooldown, or recipe quantity, is not confirmed and should be checked in the current game interface.
| Item or object | Role | What it does | How it appears | Important limit |
|---|---|---|---|---|
| Blocks | Building / defense | Bridge gaps, join platforms, widen footing, and block attacks | Random round drops; possible kill rewards and special events | Keep a reserve; a failed bridge can cause a fall |
| TNT | Explosive / demolition | Destroy roads or platforms and disrupt nearby players | Random item | The blast can damage your own route or position |
| Fireball | Ranged / explosive | Attack or knock back an opponent from a distance | Random item or some class openings | Damage and cooldown are not confirmed |
| Sword | Melee weapon | Deal damage at close range | Random item; Iron Sword appears in recorded play | Edge fights still favor safe footing over trades |
| Bow | Ranged weapon | Pressure players from another platform | Random item | Ammunition rules are not confirmed |
| Fishing Rod | Control / disruption | Interfere with an opponent’s movement | Random item | The exact pull or hit behavior should be checked in-game |
| Egg | Thrown / knockback | Hit an opponent and try to push them from a platform | Random item or class opening | Recorded starting counts conflict between 3 and 4 |
| Spear | Long-range weapon | Attack from a greater distance than a close melee tool | Crafted with materials at a Crafting Table | The full recipe and strength are not confirmed |
| Knockback Stick | Knockback weapon | Push a nearby player away from your platform | Random item | Both players need stable footing near the edge |
| Helmet | Defense gear | Provide a defensive or survival advantage | Random item | Armor value is not confirmed |
| Enchanted Golden Apple | Survival / recovery | Provide a strong survival or recovery effect | Random item; seen around the middle | Duration and exact effect are not confirmed |
| Totem | Revival / death prevention | Give a player another chance after a lethal situation | Totem Generator, middle, or random item | Trigger, cooldown, and mode coverage are not confirmed |
| Item Generator | Resource source | Generate equipment, potentially including Totems | Map station or event | Refresh timing and complete item list are not confirmed |
| Crafting Materials | Crafting resource | Supply ingredients for items such as Stick and Spear | Map pickup or random item | Material types and quantities are not fully listed |
| Crafting Table | Crafting facility | Combine materials into usable equipment | Map facility | Its location can expose the player while crafting |
This is a role guide, not a fixed rarity or stat ranking. The game’s core description says players receive random items and blocks every few seconds, while the available item evidence also connects items with generators, the middle, kills, and crafting. That means a weapon listed above is not guaranteed to appear in every round, and a missing number should not be replaced with a guess.
How to use Blocks and combat items
Blocks are the item with the widest defensive value. They connect your starting pillar to another platform, fill a dangerous gap, widen a small landing, and create a temporary barrier. They also convert a losing position into a recoverable one: if an opponent is pressuring your edge, adding standing space can matter more than throwing your next attack. Because kills may award additional Blocks, a successful elimination can fund the next bridge, but the reward should be treated as possible rather than guaranteed for every kill situation.
Build in short sections instead of spending the entire stack on one long route. Stop at a safe landing, look for incoming projectiles or explosives, and keep enough Blocks to repair the platform behind you. The recorded use of TNT shows why this reserve matters: an explosive can remove a road that players were using to advance. TNT is therefore strongest when it interrupts an opponent’s route or removes the footing they need, not when it is placed carelessly beside your own bridge.
Use TNT safely with Blocks
This moment supports the section's advice on using TNT to disrupt a road while preserving Blocks for safe movement and footing.
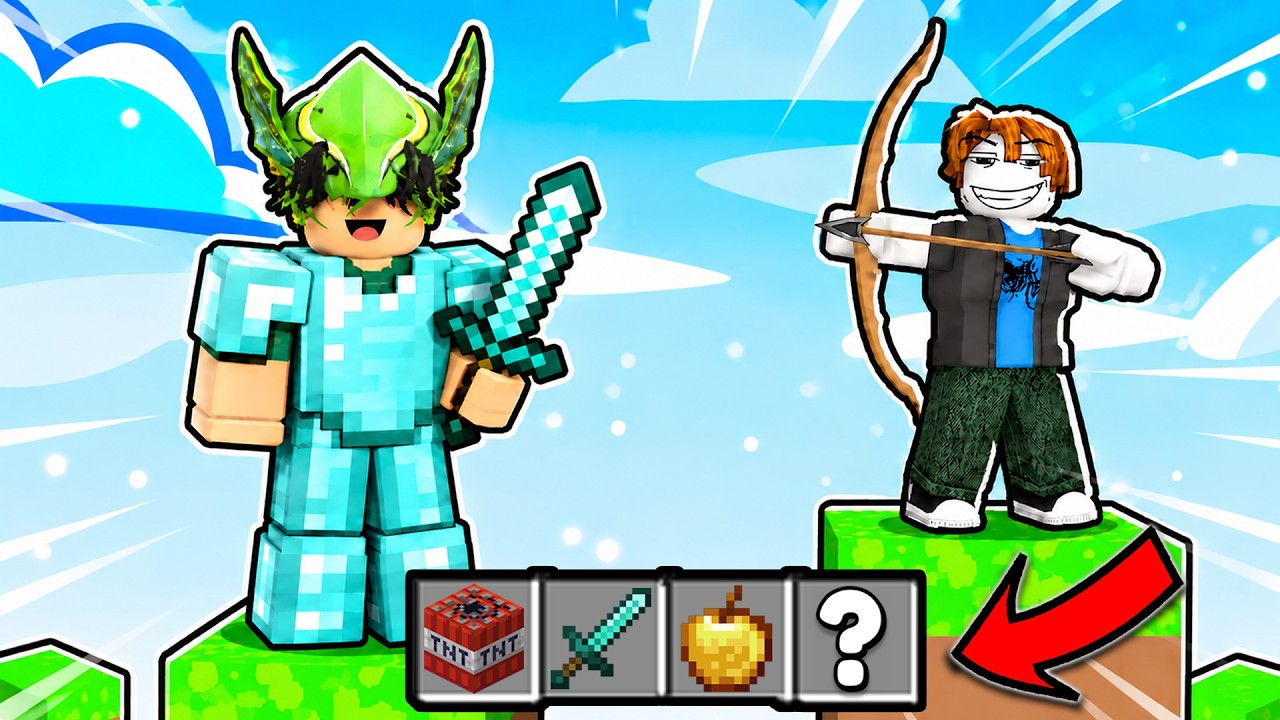
Fireball, Bow, and Egg cover different kinds of pressure. Fireball is associated with ranged attacks or knockback and can appear as a class opening in some cases, but its exact damage and cooldown are not established. Bow is useful for making a crossing expensive or contesting the middle from a distance, although the ammunition rules are unknown. Egg is a thrown hit with a knockback goal; do not build a strategy around a fixed starting count because one recorded passage says four and another says three. The difference may come from a class, mode, or version.
Fishing Rod is best understood as a disruption tool until the live game panel makes its exact behavior clear. Sword is the straightforward close-range option, while Knockback Stick is especially dangerous where a player has little platform behind them. With both, the edge is the real threat: winning a damage trade is less useful than keeping your own feet on the platform. Use Blocks first if the fight has already narrowed your escape space.
Generators, crafting, and survival choices
Item Generator is a reason to leave a safe pillar, but it is also a predictable contest point. The available footage identifies a generator and shows players fighting around the middle; the item pool can include higher-value survival gear such as a Totem. No reliable refresh interval or complete generator inventory is established, so watch the current station and nearby players instead of timing a route from an assumed schedule.
Totem is a recovery item, not permission to ignore the void. Recorded play shows a player returning after dying with a Totem, which supports its revival role. The evidence does not confirm exactly what triggers it, whether it has a cooldown, whether it is consumed, or whether the behavior is identical in every mode. If you hold one, still widen your platform with Blocks and avoid standing directly over a gap: a second fall after the recovery may leave no further margin.
Enchanted Golden Apple is also associated with survival or recovery and has been seen near the middle. Its exact effect and duration are not established. Treat it as a valuable buffer for a contested move, not as a verified amount of healing or invulnerability. Helmet is confirmed as a pickupable defensive item, but no armor value is available, so it cannot be ranked against other gear from this catalog alone.
Crafting Materials and the Crafting Table create a second route to equipment. The evidence confirms crafting Stick and Spear, and recorded play describes the Spear as having long reach before the player searches for a Crafting Table. It does not provide a complete recipe book, material names, quantities, or a list of every craftable. Carry materials when a table is plausibly reachable, but do not cross an exposed bridge solely for an unconfirmed recipe. A Crafting Table can turn a resource lead into a risk if its location leaves you open while you combine materials.
Choosing items by situation
If you are still on your starting pillar, prioritize space and escape. Blocks let you enlarge the area you can stand on and create a controlled route. A Sword, Bow, or Fireball can wait if using it would leave you without enough Blocks to survive a counterattack. When an opponent begins a crossing, ranged pressure and TNT can force them to stop or lose the road; the safe choice depends on whether the blast or projectile also threatens your own route.
If you are crossing toward the middle, use short bridges and check the landing before committing. Bow, Fireball, Egg, Fishing Rod, and Knockback Stick all matter because the objective is often displacement, not merely damage. Knockback tools become more valuable when the target has an exposed edge, but they also demand that you stand far enough from your own edge to survive a miss. The same rule applies to melee: take the fight where you have room to retreat.
If you are contesting a generator or the middle, assume other players want the same item. Keep Blocks available for an emergency wall or a widened landing, and identify your retreat before taking a Totem, Enchanted Golden Apple, or other pickup. A valuable object is not worth a route that cannot be defended. Because generator contents and refresh rules are incomplete, respond to the current spawn rather than promising that a particular item will always be there.
If you have materials but lack a weapon, Crafting Table access may justify a controlled detour. Spear is the clearest supported craft with a long-range role, but the exact recipe and comparative strength remain unresolved. Craft only after checking whether another player can reach the table first and whether you can return with enough Blocks. If the route is exposed, a known defensive action is safer than spending your final building resources on a craft you have not confirmed.
What is not confirmed yet
Do not treat this catalog as a complete stat sheet. The available evidence does not establish item rarity, damage, armor values, projectile ammunition, cooldowns, generator refresh periods, or a complete list of generator outputs. It also does not confirm every crafting recipe or the exact rules for Totem revival. Those values may change with updates or differ by class and mode, so use the live item, class, and generator panels when they show a current value.
The random-drop system is another important boundary. A class may begin with a particular item, and a kill may provide extra Blocks or Coins, but those observations do not prove a universal loadout or reward. Egg counts are explicitly inconsistent in the recorded material, and Fireball is only tied to some class openings rather than every player. Plan around item roles and available escape space, then adapt when the next random drop arrives.
First-time Towers of Fortune item questions
Is a Totem an unlimited extra life?
No. A Totem is supported as a revival or death-prevention item, but its trigger, cooldown, consumption, and mode coverage are not confirmed. Keep using Blocks and safe positioning after recovery instead of assuming another lethal mistake is covered.
Do kills always give extra Blocks?
No. The available game description says kills can provide bonus Blocks and Coins, but that does not establish a guaranteed reward for every elimination. Treat any extra Blocks as a possible follow-up resource, not as part of a fixed loadout.
Can I rely on getting four Eggs at the start?
No fixed count is confirmed. Recorded descriptions conflict between three and four Eggs, so the count may depend on a class, mode, or version; check the current loadout rather than planning around four.
Does every Item Generator contain a Totem?
No. The evidence identifies a Totem Generator and connects the middle with valuable items, but it does not establish a complete generator inventory or refresh rule. Check the current station rather than crossing on the assumption that a Totem will be waiting.