Set a first-round goal on your starting pillar
To learn Towers of Fortune, aim to survive the opening, make one safe connection to another platform, and reach the high-value middle area without spending every block. The game places players on separate pillars or floating platforms, then supplies random items and blocks during the round. You use those resources to build, fight, and knock opponents into the void. In the usual last-player-standing result, the last survivor wins; a mode that includes a Door can also require you to close it while remaining in the fight.
This makes your first round a positioning lesson rather than a race straight to the center. Watch what arrives in your inventory, keep a few blocks for an emergency platform, and choose a route that gives you somewhere to stand after an attack. A kill can award extra Blocks and Coins, but chasing a player across a narrow bridge is not automatically worth the risk. A player who keeps a platform and a retreat route can turn a weaker random loadout into a longer run.
The game’s stable foundation is the combination of random equipment, building movement, and knockback control. It is not simply a sword duel. Your first checkpoint is reached when you can explain three things: where your next safe block placement is, which item can change the fight, and how you will recover if an opponent breaks the route.
How a Towers of Fortune round changes state
A round is a session-based, competitive flow that moves from separate starting positions to shared territory and then to a final survival decision. At the start, players inspect their Class, Rolls, and initial items. Random drops then change the available options. Blocks create a route between pillars, the Middle becomes a contested resource area, and combat decides who keeps the useful ground.
The flow is not a fixed story with one guaranteed loadout. A player may rush toward Middle, stay on the starting platform to collect more resources, or use a safer side route when the map allows it. Item Generators can provide Totems and other equipment, but their value also makes them likely conflict points. As players meet, Sword, Bow, Egg, Fishing Rod, Knockback Stick, TNT, and Fireball can change the position of a fight faster than raw health alone.
The round ends when the applicable objective is met. In the last-one-standing outcome, that means every competitor except one has been eliminated or has fallen. In a Door-focused mode, closing the Door is part of the objective as well as surviving. Afterward, use the result to adjust your next Class choice, Rolls, block reserve, and timing for the next trip toward Middle. The exact mode rules can change the emphasis, so follow the current objective shown in the game rather than assuming every round has the same terminal action.
Close the Door and survive the round
This moment supports the guide's explanation that some rounds combine closing the Door with being the last survivor.
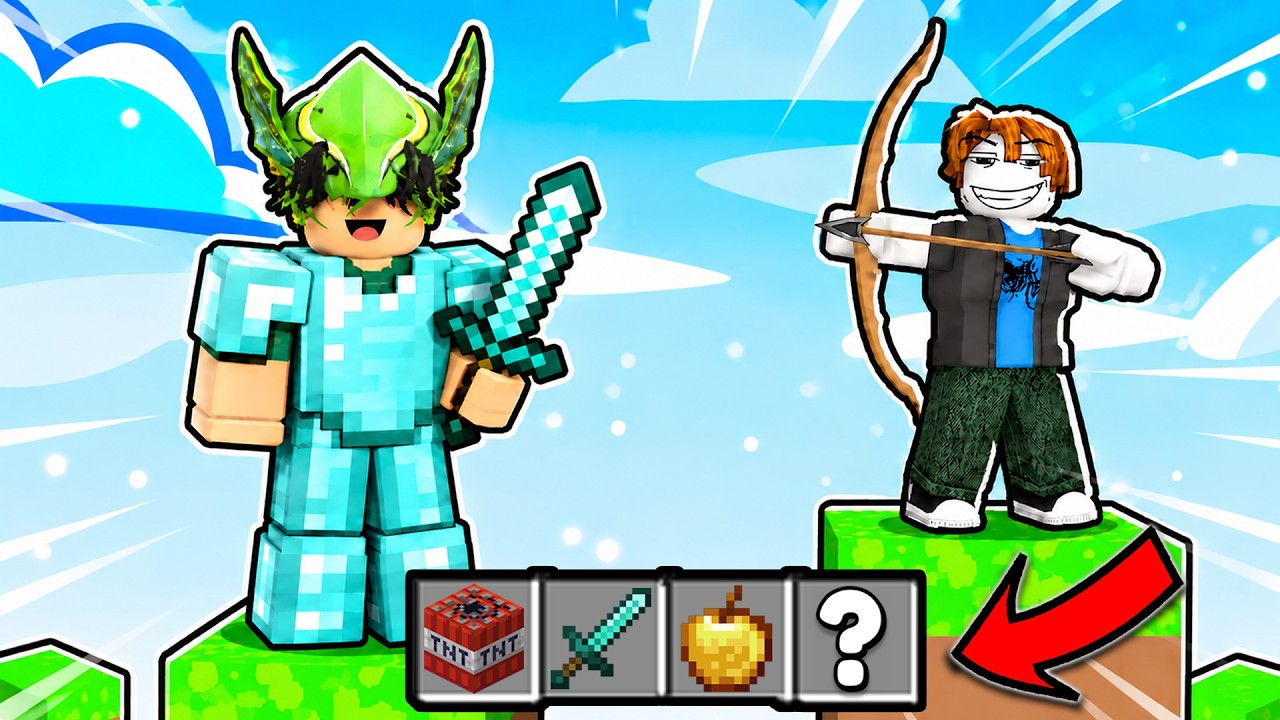
Blocks, items, and places that decide a fight
Learn these elements before trying to memorize every Class or crafting possibility. The current guide does not establish a complete list of Classes, exact Class effects, or every crafting recipe, so treat the current in-game display as authoritative for details that are not listed here.
| Element | What it changes | When to use it |
|---|---|---|
| Blocks | Movement, cover, platform size, and emergency recovery | Build a bridge, widen the landing area, and keep a reserve before fighting near an edge |
| Class and Rolls | Starting equipment or abilities and the randomness of the opening | Check what you received, then choose a route that fits the loadout instead of forcing a preferred plan |
| Item Generators | A place to replenish equipment such as Totems | Approach after checking nearby ledges and opponents; the reward is useful but the location can be contested |
| Middle | High-value shared territory and a frequent battle location | Enter once you have a retreat route and enough Blocks to survive pressure |
| Combat items | Damage, ranged pressure, knockback, or terrain disruption | Use Sword and Spear for attacks, Bow for distance, and Egg, Fishing Rod, or Knockback Stick to control space |
| TNT and Fireball | Explosions, route damage, and pressure on platforms | Use them to deny a narrow approach or punish a predictable position, not as a substitute for safe footing |
| Totem | An additional chance to survive a lethal mistake | Keep it available when you are crossing or contesting a dangerous area; it is not confirmed immunity or unlimited revival |
| Crafting Table | A way to turn collected materials into equipment such as Stick and Spear | Craft when the extra reach helps and you can afford the exposure caused by stopping to gather or make items |
Blocks are your most flexible resource. They are a bridge when you need to move, cover when an attack arrives, extra floor when a platform is too small, and a recovery tool when a route is damaged. Builder can provide extra blocks, which is useful for early connections and wider platforms, but that advantage does not make a direct Middle rush safe.
Combat items should be read by function. Sword supports close pressure. Bow and Spear let you threaten space from farther away, although Spear crafting needs materials and time. Egg, Fishing Rod, and Knockback Stick matter most near edges because moving an opponent can be more decisive than reducing their health. TNT and Fireball can destroy or pressure a route. Totem adds tolerance for a dangerous mistake, but the precise trigger, quantity limit, and equipment rules are not fully established here; use the live item behavior rather than treating it as a guaranteed reset.
Craft a Spear for longer reach
This moment supports the guide's explanation that crafting a Spear can provide longer attack range when materials and time are available.

Your first pillar-to-Middle run
- Enter a round and read the objective. Spawn on your pillar or starting platform and identify whether the current goal is ordinary last-player survival or also includes closing a Door. The checkpoint is a clear win condition in your head; only then choose whether to move immediately or collect first.
- Inspect your Class, Rolls, and opening items. Note whether you have extra Blocks, a ranged option, an explosive, or another control item. The feedback is a real plan rather than a guess: Builder supports a wider bridge, while a weak opening may favor staying put for another random drop. Move to the next step only after reserving a few blocks for recovery.
- Secure your starting platform. Place Blocks to widen a dangerous edge or create a small protected landing area, but do not cover every open space. You should still have room to move and a visible route back. If the platform becomes safer without exhausting your supply, begin the connection; if not, wait for another item cycle.
- Build a controlled bridge. Connect toward a nearby pillar or usable route with short, deliberate placements. Look for the next place your feet can stand before placing the next block. The checkpoint is a bridge that can be crossed without a blind jump and a return path that still exists. If an opponent appears, stop building and switch to cover or retreat rather than continuing on a one-block line.
- Take the first safe resource opportunity. Search for an Item Generator or map resource only when the approach leaves you space to turn away. You may find Totems or other equipment, but the generator can attract another player. A successful pickup changes your options; an unsafe approach should transition back to your platform or a wider piece of ground instead of becoming a forced fight.
- Approach Middle with an exit. Build or follow the route toward Middle after checking for TNT, Fireball, ranged attacks, and players waiting at the edge. Keep Blocks selected or ready for a missing floor. The checkpoint is arrival on shared ground with at least one retreat direction. If the route is exposed, pause at the last safe platform and let another player reveal the danger rather than donating your position.
- Fight for position, not just damage. Use Sword or Spear when you can keep your footing, and use Bow, Egg, Fishing Rod, or Knockback Stick to make space when a player is near a drop. TNT and Fireball can disrupt a route or punish a predictable position. The feedback you want is control of the next few steps: the opponent backs away, loses their bridge, or gives you room to move. If your own platform is collapsing, stop attacking and rebuild first.
- Verify the round result and choose the next action. When opponents fall, are eliminated, or the Door objective is completed, confirm the game’s state before leaving your position. A kill may provide extra Blocks and Coins, but the final survivor condition still matters. If other players remain, widen your platform, find another generator, or hold a defensible route; if you are the last player alive, the round is complete.
Priorities when the bridge or fight goes wrong
Use this order whenever the round becomes noisy: footing first, escape second, information third, damage fourth. A safe square of ground lets you use every later resource. An impressive hit from a collapsing bridge usually does not.
- You spend all Blocks crossing early: Stop taking long routes and stay on the largest safe platform you can reach. Collect the next random supply or use a safer generator route before trying to contest Middle again; do not assume Builder’s extra supply is a license to spend everything.
- An opponent pushes you toward the void: Turn the fight into a building problem. Place a block under or beside the next reachable space, widen the landing area, and use Egg, Fishing Rod, or Knockback Stick only when you can keep your own footing. A Totem may provide extra tolerance, but do not wait for it to make an unsafe edge harmless.
- TNT or Fireball breaks your bridge: Retreat to the last intact platform and rebuild from a wider base. Treat the destroyed route as information about the opponent’s range or timing; do not jump back onto the same exposed line without a second path.
- You reach Middle with a weak loadout: Hold the edge of shared ground, collect what is safe, and avoid a centered brawl. Bow, Spear, or a control item can make a later entry better, while a narrow platform fight gives your opponent the easier knockback angle.
- You lose at an Item Generator: Do not repeat the same approach immediately. Wait for a different route, travel with enough Blocks to widen the landing, or leave the generator uncontested and keep your current platform. The item is optional; falling is a complete loss of position.
- Crafting leaves you exposed: Move to cover or a wider platform before gathering materials and using a Crafting Table. Make Stick or Spear when the extra reach solves a real problem, then return to movement rather than standing still to complete a collection.
- You do not know why the round ended: Read the current mode objective and observe whether the decisive event was a fall, elimination, or Door interaction. On the next round, keep the same opening but change one decision—your bridge timing, Middle approach, or item use—so the result gives you a useful comparison.
The best beginner improvement is to preserve choices. Keep Blocks for the moment an opponent changes the terrain, treat every edge as a knockback threat, and let random items change your route instead of your basic discipline. Once you can reach contested ground and still retreat, you are ready to experiment with Classes, crafting, and more aggressive Middle fights.
First-time Towers of Fortune questions
Can I guarantee a specific Class with Rolls?
No. Rolls and the resulting Classes or abilities are presented as random, so plan around the equipment you actually receive in that round. A group bonus can provide Lucky opportunities, but that is a chance increase rather than a guarantee of a particular Class.
Are the exact crafting recipes listed here?
No complete recipe list is established here. The supported beginner use is to collect materials and use a Crafting Table for equipment such as Stick or Spear, then check the current crafting interface for the exact ingredients and available options.
Is a Totem unlimited protection from falling?
No. Totem is described as an extra survival opportunity, not as immunity to knockback or unlimited revival. Keep Blocks and a recovery route even when you have one.