Towers of Fortune modes keep the same basic survival format—spawn on your own pillar, collect changing items and blocks, build across gaps, and knock opponents into the void—but change what you should prioritize. Normal play emphasizes staying alive and controlling routes. A Door-focused round adds a map objective, while Speed makes the resource and combat windows much shorter. Class-selected and Lucky Block variants change the opening tools rather than replacing the bridge-and-knockback foundation.
Use the current round label and on-screen objective as the authority when a match starts. The available evidence describes several variants through gameplay footage, but it does not establish a complete official mode list, fixed map rotation, or exact speed multiplier. The table below therefore separates the reliable player-facing differences from details that still need to be checked in the live game.
Towers of Fortune mode reference
The rows describe how each reported variant changes a round and what decision it creates. “Confirmed” here means the behavior is directly described in the public game description or observed in the supplied gameplay coverage; it does not mean every map-specific rule has been documented.
| Mode or variant | Main goal | Pace | Opening focus | Best decision rule |
|---|---|---|---|---|
| Normal | Outlast the other players | Regular | Collect random items and blocks | Build a safe route before taking a risky fight |
| Door-focused mode | Close the Door and be the last survivor | Regular or map-dependent | Identify the Door route and gather enough blocks | Advance toward the objective without giving up your escape path |
| Speed variant | Complete the active round objective and survive | Fast | Use each new item quickly | Spend less time sorting supplies and react to changes immediately |
| Class-selected variant | Complete the active objective with the assigned class | Not confirmed | Learn the starting class advantage | Shape the first bridge and fight around the tool you receive |
| Lucky Block variant | Survive while breaking blocks for changing drops | Variable | Open nearby Lucky Blocks carefully | Treat every break as a possible advantage or threat |
The table is a practical lookup, not a promise that every server always shows all five labels. The footage uses imperfect automatic names for some variants, and the available public page does not publish a full rules catalog. If the live mode selector uses a different label, follow its objective and treat the row above as the closest gameplay description.
How the modes change a round
Every variant starts from the same spatial problem: each player begins on a separate pillar or floating platform, with a gap between safe areas. Random items and blocks arrive over time. The public game description says players build, bridge, fight, and win as the last one standing; the gameplay coverage describes an initial item followed by another item about every six seconds. That cadence is useful as a general rhythm, but it should not be treated as a guaranteed timer for every modifier.
In Normal, the opening question is whether to spend the first drops on a route, equipment, or immediate pressure. A bridge gives access to another pillar and eventually the Middle, but it also creates a path an opponent can break or use against you. Staying on your starting platform protects your position while supplies accumulate, yet it can leave you with fewer options when another player arrives. Normal therefore rewards a platform that has room to move, a route you can retreat across, and a fight that ends with knockback rather than a prolonged exchange.
Door-focused play adds a destination to that same survival contest. The footage describes the objective as closing the Door and becoming the last survivor. It does not establish the Door’s exact location, interaction method, or whether its placement changes by map. Read the current objective before committing to a route: the Door goal makes forward progress matter, but an isolated push can still lose the round if another player reaches you or cuts your bridge.
Speed is a tempo modifier. The coverage says the game becomes faster when speed is enabled and that things arrive very quickly. It does not provide a reliable multiplier. In practice, the important difference is decision time: a block or item sitting unused can be worth less than a quick, imperfect bridge, and a route that was safe a moment ago can become contested before you finish preparing. Keep the next action visible—place a block, move to cover, or disengage—instead of waiting for a perfect inventory.
See the item flow and mode objectives in action
These moments show the recurring item flow, the Door and last-survivor objective, the value of the Middle, and the faster pace described for Speed rounds.
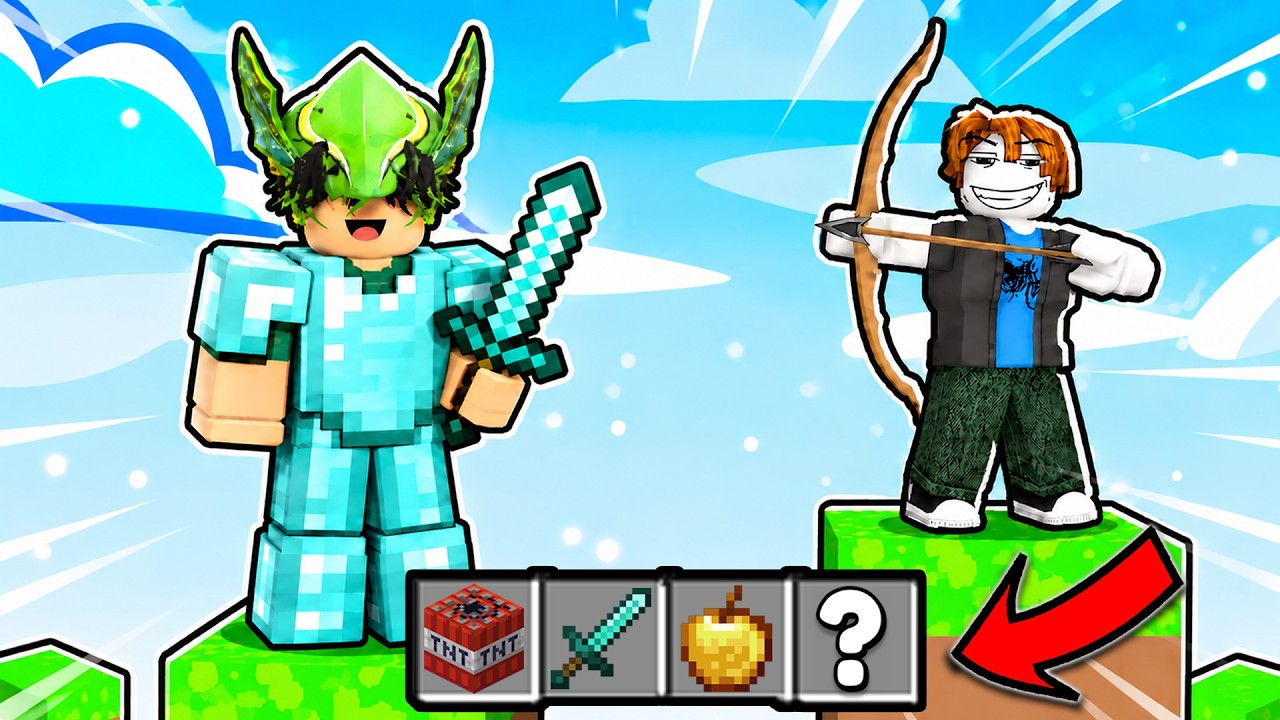
Class-selected rounds change your first toolset. The footage mentions classes such as Builder, a fireball-starting class, and a chicken-related class that begins with eggs. Those observations show that starting advantages can differ, but they do not prove a stable class list, rarity system, or universal class assignment rule. Check the class shown for your character, then use its opening item to create space or force movement; do not plan around a class you have not actually received.
Lucky Block play is another reported variant in which breaking blocks can produce changing results, including extra health, blocks, equipment, or a weapon. Because the contents are not fixed in the evidence, opening one is a tradeoff: it may accelerate your setup, but it can also consume time near an exposed edge. Break nearby blocks when you have a retreat, then convert a useful drop into platform control rather than carrying it while standing in danger.
Choosing a route and timing fights
The Middle is repeatedly described as the most valuable area. It attracts players because it can provide better access to resources or positioning, but it also concentrates opponents. Reaching it is not an automatic win. A player who bridges directly without spare blocks can be stranded, while a player who waits too long may let another competitor take the approach.
Use three checks before crossing:
- Resource check: Do you have enough blocks to finish the approach and repair or retreat if the first route is cut?
- Threat check: Can you see a player, TNT, or another knockback threat controlling the landing area?
- Objective check: Does the active mode reward reaching the Middle now, or is the Door or another goal the more urgent destination?
If one answer is unfavorable, expand your platform first. The footage shows platform expansion as a way to create more operating room, and that extra space matters because a missed jump or knockback hit is less likely to end the round immediately. It also gives you room to place blocks behind yourself instead of fighting with your back against an edge.
Fight when the terrain helps the fight. Knockback is more decisive near a void or a broken section of bridge than in the center of a wide platform. TNT and ranged or thrown items can remove a route or force a player to move, but using them against an opponent with a clear escape can simply spend your advantage. After a kill, the coverage reports bonus blocks and coins in the game description, and the footage suggests kills can provide extra blocks; use any confirmed reward shown in the live interface to rebuild before chasing the next target.
Use knockback to win fights near dangerous edges
This moment supports the combat section's focus on knockback tools, edge control, and turning a fight into a decisive victory.

Classes, items, and survival tools
Mode differences are easier to understand when you separate the shared tools from the variant-specific opening. Blocks create routes and cover. Random items can supply combat, movement, or defensive options. TNT can threaten a bridge or platform. Knockback tools are especially important because falling into the void is a direct elimination route. Classes can change which of these options you have first, while Lucky Blocks can change what arrives after you break them.
The coverage also shows a Totem being used and describes a player returning after death. That is evidence that a Totem may provide a death-prevention or return opportunity in some context, not proof that it is available in every mode or that its effect is identical across rounds. If the live interface gives you a Totem, treat it as a recovery resource and confirm whether it activates automatically or requires an action; do not assume that one use guarantees a second life.
The safest general inventory rule is to keep one option for movement and one option for forcing movement. A bridge without a way to defend its landing is fragile. A weapon without blocks leaves you unable to recover from a missed approach. In a class round, the starting advantage may let you break that rule temporarily, but the goal remains the same: preserve a path to solid ground while creating a path for the opponent to lose it.
Mode-specific decisions and limits
Choose Normal when you want the clearest expression of the base loop: gather, build, contest space, and outlast the field. Choose a Door-focused round by reading the objective first and treating the Door as a destination that must be reached without sacrificing survival. In Speed, shorten every planning pause and use drops as soon as they support a safe next move. In a class or Lucky Block variant, inspect the actual starting advantage or drop before deciding whether an aggressive opening is justified.
Some details remain mutable or unconfirmed. The evidence does not give a complete official mode-name list, exact speed multiplier, fixed item-generation rules for every variant, Door placement or interaction steps, class probabilities, Lucky Block contents, or a universal Totem rule. It also does not establish which rewards are shared by every mode. For those values, use the current mode panel, objective text, and item description in the live server.
The stable strategy is to make the mode objective change your priority, not your fundamentals. Keep room to move, bridge with a retreat in mind, contest the Middle only when the route is viable, and use knockback opportunities near dangerous edges. Those habits remain useful whether the round asks you to be the last survivor, close a Door, handle a faster supply cycle, or exploit a class-based opening.
First-time Towers of Fortune mode questions
Is the Middle always the best place to go first?
No. The Middle is described as valuable, but it is also a common conflict point. Go there when you have enough blocks, a landing plan, and a reason tied to the active objective; otherwise expand your platform or prepare a safer route first.
Does Speed mode have a confirmed multiplier?
No exact multiplier is established by the available public information. Speed is described as making items or events arrive much faster, so use the current round behavior and on-screen rules rather than relying on a fixed number.
Do all modes use the same Door objective?
Not established. Closing the Door is specifically described for a Door-focused round, while Normal is consistently described around being the last survivor. Read the current objective before assuming the Door is part of the match.
Are class names and starting items fixed?
Not confirmed. Gameplay coverage shows several class examples and different starting items, but it does not provide a complete official roster or assignment rule. Follow the class and item displayed when your round begins.